Adding a New Site to Yottaa
After you have installed Yottaa on your production site, you can add other sites that your company uses or creates. If you are installing Yottaa for the first time, please refer to the Yottaa Getting Started Guide.
To add a new site:
-
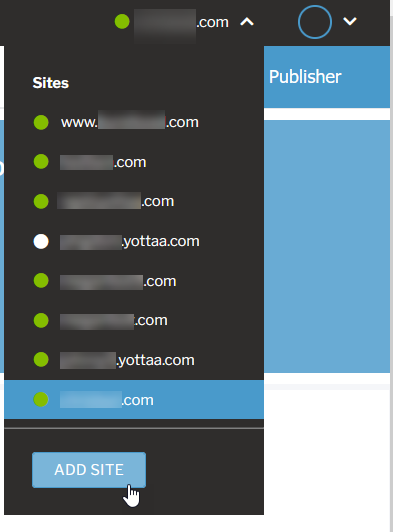
In the upper right of the portal, click the site menu and click Add New Site.

-
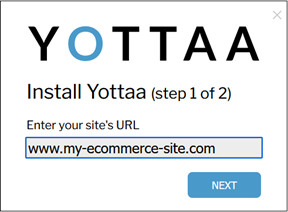
Enter your site's URL in the first box and click Next.

The installation screen displays.
-
Confirm that the code shown in the blue box contains your site key as the script name.

-
Click Copy to copy the code in the box.
-
Paste the code into your site's source code, in the <head> section, as close to the top as possible.
When you are finished, your site's source code should look like this:
<head>
<script src="https://rapid-cdn.yottaa.com/rapid/lib/<site-key>.js"></script>
...
</head>
Instead of the <site-key> as shown above, you should see your own site key as the name of the script file.
-
On the Yottaa Install screen, click NEXT
A progress spinner displays while Yottaa creates your new site.
-
When the next screen displays:
-
To install a library version that is different from the default, navigate to the Library Management slider and select your preferred library version.
-
To install the default library version, skip this step.
-
-
Click FINISH.

Your new site is ready to go. If you've implemented Yottaa's code on your site, data should start appearing shortly. If data doesn't appear within 24 hours, please reach out to Customer Success at support@yottaa.com.